🖌//How to build a vocal booth at home
A simple but highly effective DIY that will take your voice recordings to the next level.
Published by AHE. on
In pursuit of my goal to get a voiceover agent this year, I've worked my way through dozens of potential solutions for getting professional quality voice recordings at home. The vast majority of them have been awfull. My first attempt was to just say "eh, this room isn't too echo-ey" and just not do any sound treatment at all. Insane idea.
Option 2 was to use the little nook in our flat where the front door, bedroom door, bathroom door, and the entrance to our living room meet, and hang up some panels of accoustic foam. This was slightly better, purely due to the fact that I put any effort into it at all.
Option 3 was the same, but with additional blankets hung up to cover the hard walls which were no doubt reflecting a lot of the sound. This was the first set-up where I actually got some advice from a sound engineer friend and asked if the recordings I had were usable. The recordings were declared "fine", which is his way of saying they didn't cause him permanent hearing loss, and that they would probably cause additional work for whatever sound engineer would end up working with them.
This solution also came with the disadvantage of completely blocking access to almost every room in the flat, so if I ever wanted to do some recordings, whoever else was in the house had to pick a room and promise to never leave it. Since hostage taking is a lot of work, I decided a proper solution was necessary.
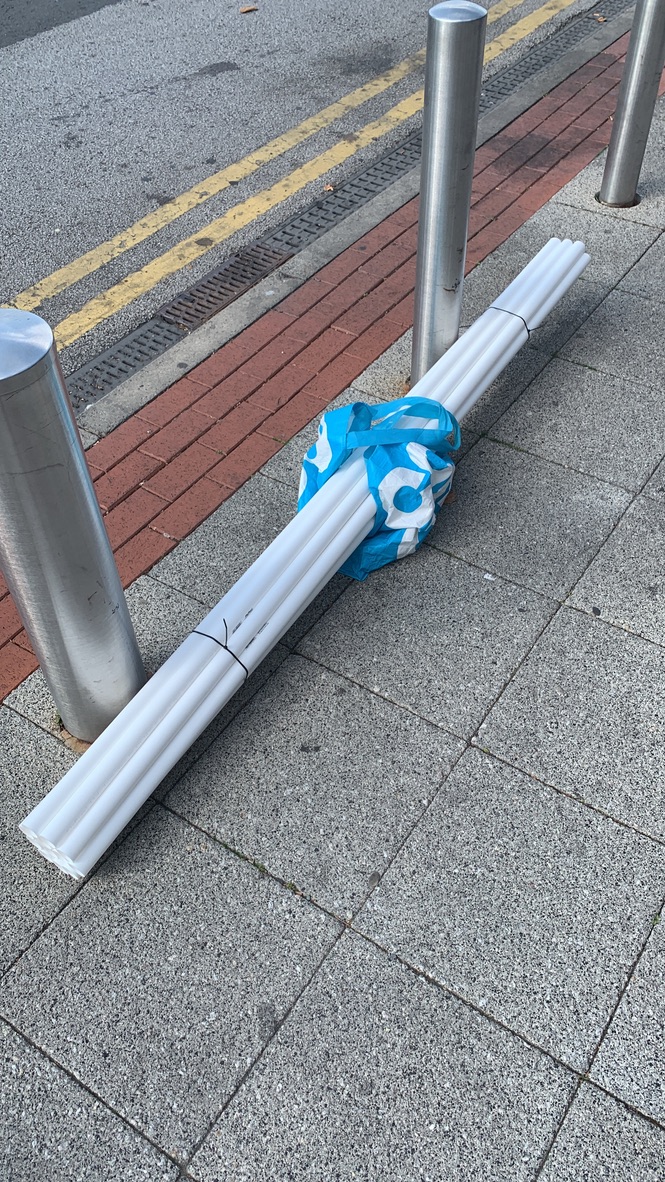
A quick search on Amazon will reveal vocal booths costing multiple hundreds of pounds which look pretty flimsy, but at least prove that such a thing exists, and that they look fairly easy to replicate. Fueled by this flawless logic I headed down to my local B&Q with a chicken-scratch drawing and rough dimensions to buy what I thought I needed.
My plan was to roughly recreate the dimensions of the nook in my house using PVC pipe as a frame, then hanging blankets from it to create a self contained booth that can be moved to a less irritating place in the house. Here's what I bought...
- 12x 2m legnths of 32mm Floplast pipe. I would recommend 40mm for a more sturdy build, but 32mm was all they had available at the time, and it works fine.
- 16x right angle connectors
- Evo Stik Impact amber glue
- 10x Moving Blankets
- 16x Spring Clips
With the supplies back home, I got to work.
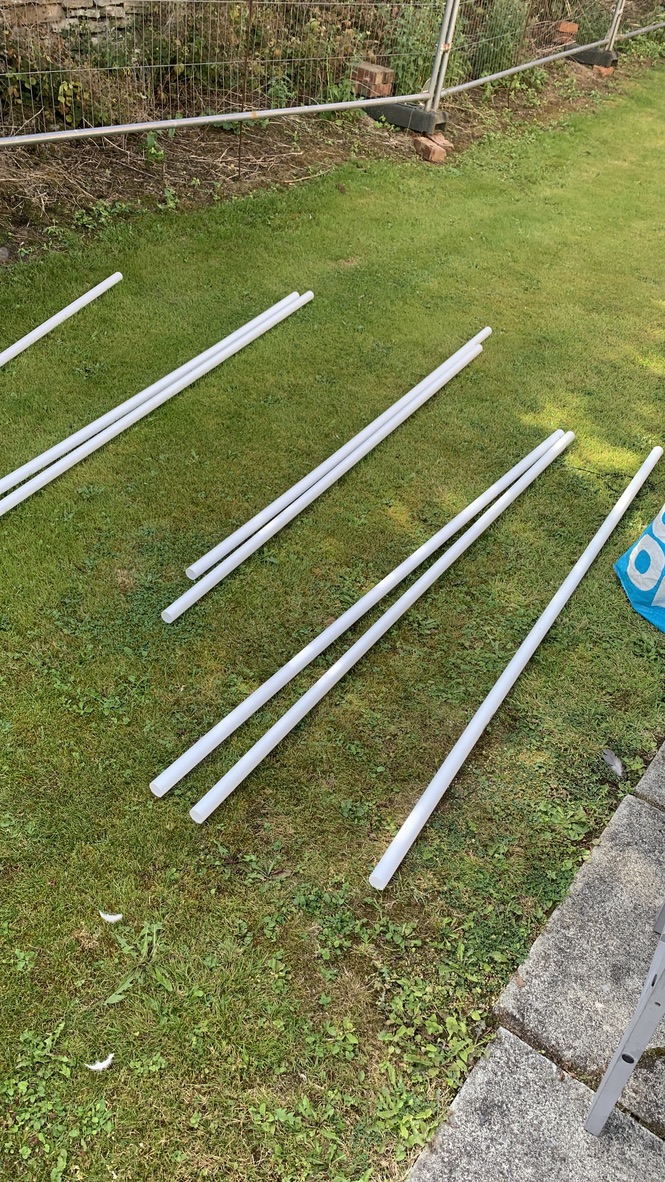
Step 1 - Sort your pipes
Take 8 of the 2m pipes and lay them aside. You wont need to touch them for now. The remaining 4 legnths need to be cut in half to 1m.
Step 2 - Glue the connectors
Take your right-angle connectors, and glue them to the tops and bottoms of the 2m legnths, making sure they're oriented in the same direction.
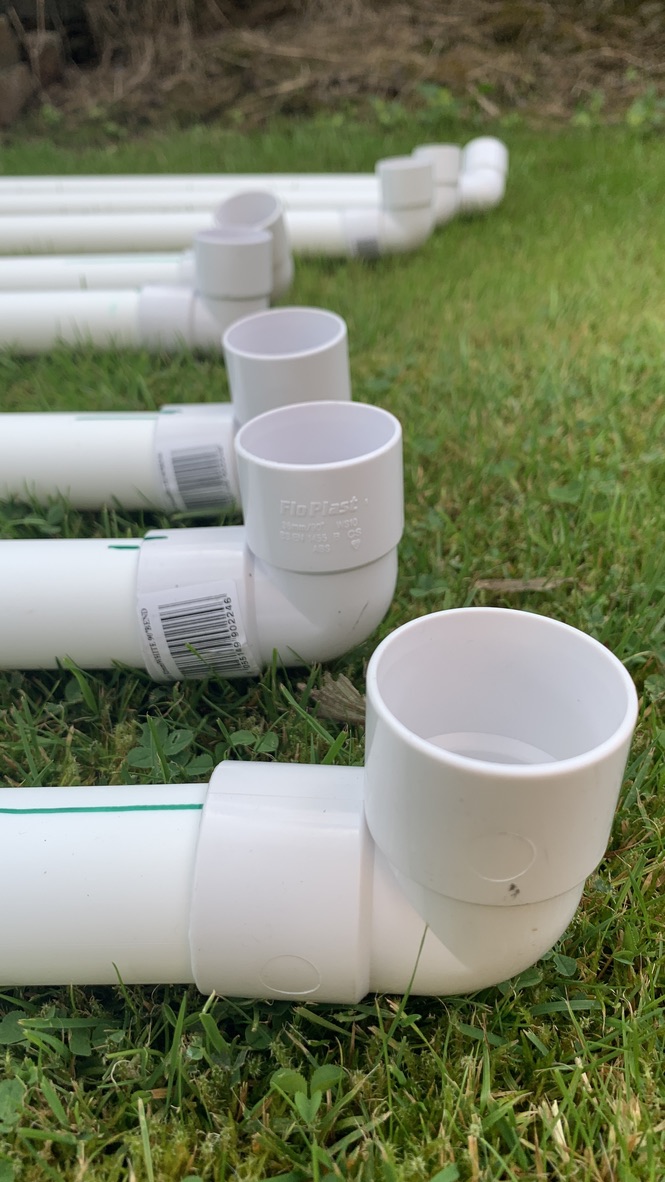
Note: The connectors pictured are not the ones I linked to in the shopping list. I originally bought the wrong thing and took the pictures before I realised.
Step 3 - Wait for the glue to set
You can follow the instructions on the bottle for this, but it can take anywhere from 8-24 hours for a full cure.
Step 4 - Fit the smaller pipes
Use the 1m legnths to friction-fit the longer pipes together. Do not use glue on this stage, as you'll want to be able to pull these connections apart to dismantle your booth and stow it away. You should end up with four large rectangles like this.
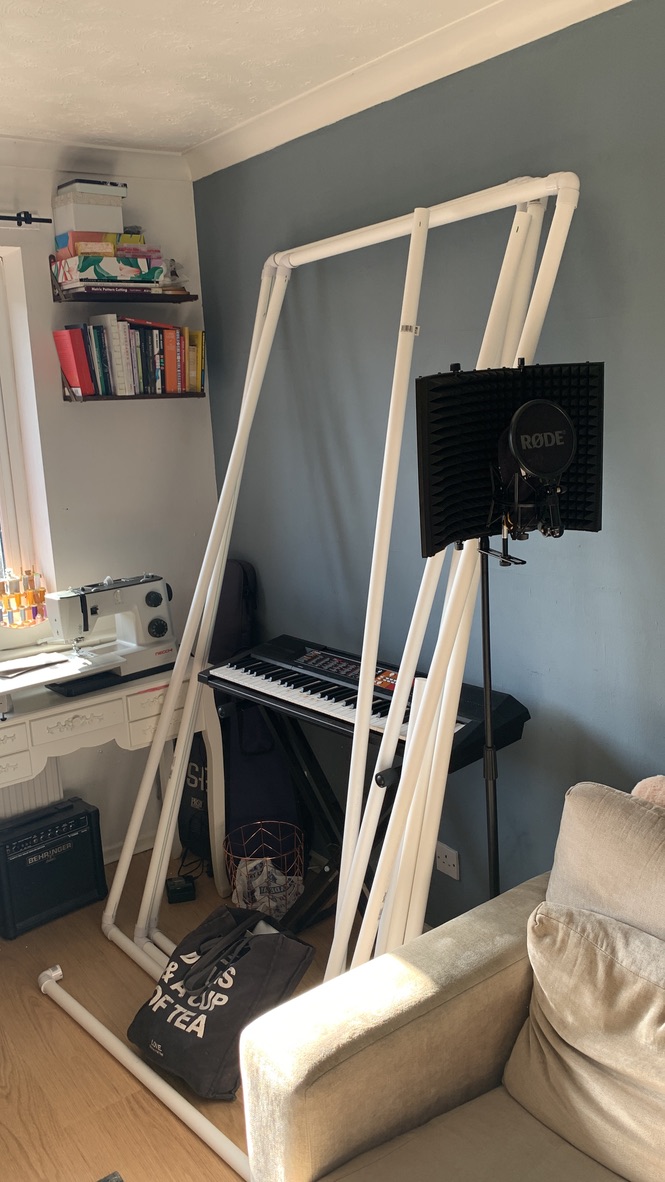
These four rectangles can now be zip tied together at the corners to create your booth.
From here, you'll want to grab your clips and hang your moving blankets. You can do this however you want, but I would recommend 2 layers of blanket on the sides, 2 on the floor inside the booth, and at least one on the roof.
Believe it or not, that's pretty much it. If you have a few panels of sound deadening foam lying around you can hang them up inside too, but at this point it's far from necessary. Whatever microphone setup you have will be dramatically improved by the deadening of echoes and ambient sound; however I should emphasise that this is not a soundproof booth. Sound from outside will still get in. If you have a creaky floor, or a noisy pet, this won't magically solve all your problems.
When you're done, you can just pull the frames apart and stow the pipes away. This has been an absolute life-saver for us as we have very limited space in out flat.
Once I fiished the build I was able to immediately get to work making new voice-reels which I am super proud of, and with all the lessons I learned making this website, I've been able to make the perfect way to host them. Fingers crossed something comes of it